


What is RedHerring?
RedHerring is a Phishing awareness product developed by the San Diego County Office of Education (SDCOE) with school district employees in mind. Phishing has become a huge issue in the recent years having shot up almost 600% since the start of the pandemic in 2020. SDCOE created RedHerring in order to test users and make them more aware of what Phishing is and helping them understand the signs even if they fail. At LACOE, we provide different guides and demos to help you better understand the product and how to use it. We are always here to help as well if any part of RedHerring is confusing.
RedHerring Step By Step Setup
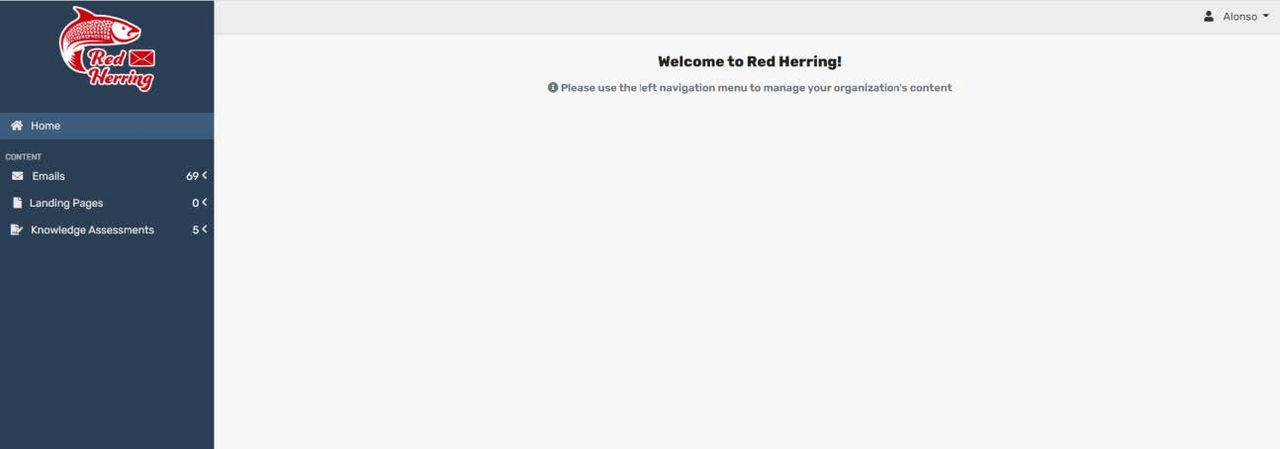
When your account is created, it will be 1 of 3 Admins, an Admin for the organization/District, Admin for the Campaigns, and Admin for the phishing emails and landing pages. When you are the Admin for the organization, you will have the most features and usability. Your page will look similar to the screenshot below
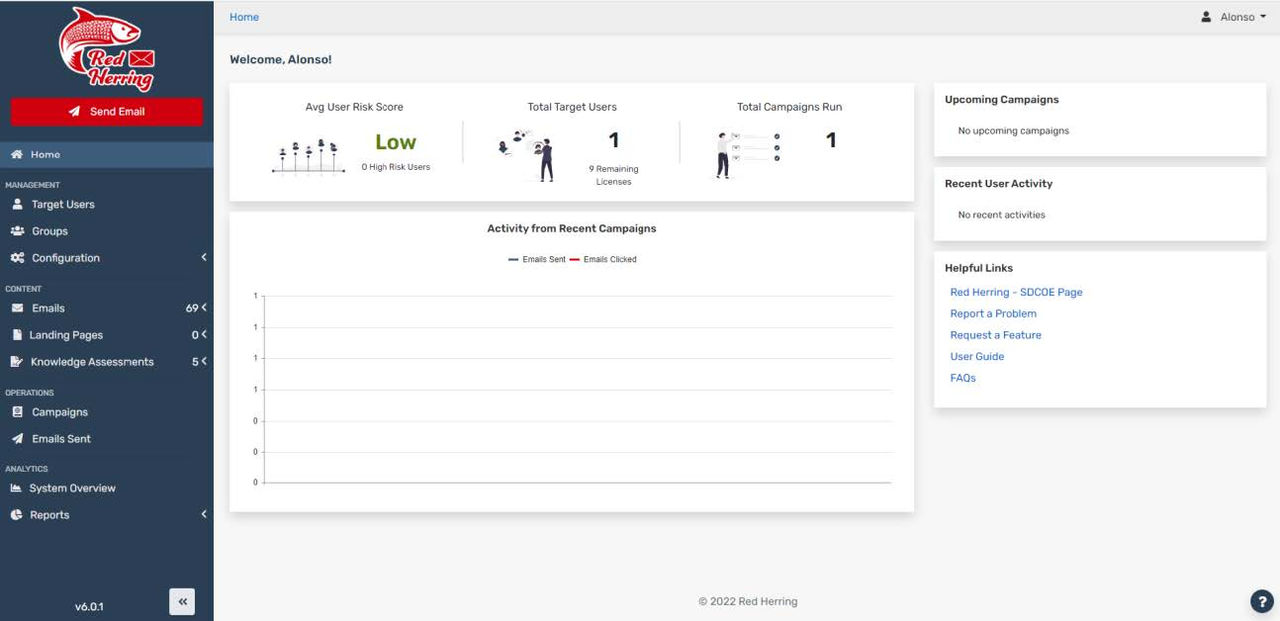
To the left will be your management, content, operations, and analytics tabs.
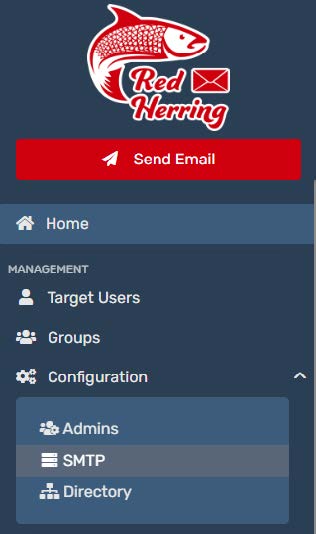
In the middle, we see the average risk score compared to users who clicked on the emails, your target users, and the campaigns you have ran. The very first thing we will want to do is configure your SMTP server in order for it to allow emails to travel to users in your organization. To the left of the screen under the Management tab, you will see configuration. Once clicked, a SMTP configuration option will appear.
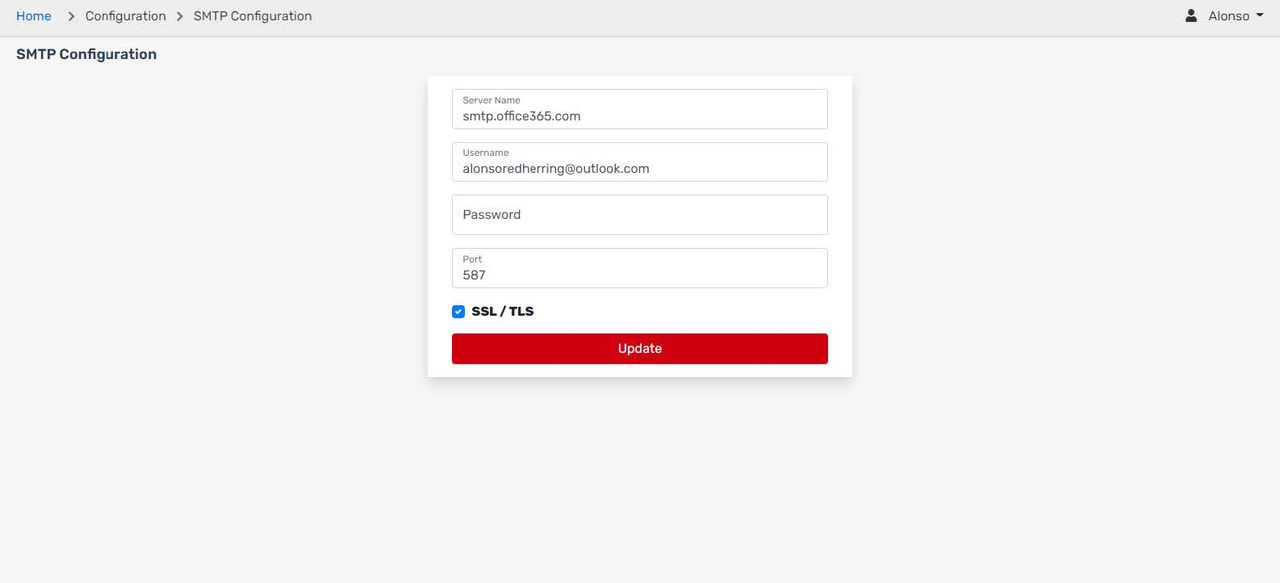
Once clicked, you will need the server name, your username and password, and then the Port that will be used to connect to your mail server. In this case, it was the regular Office365 server with Port 587.
After that has been updated and you are connected to your mail server, we will go back to management and click on Target Users.
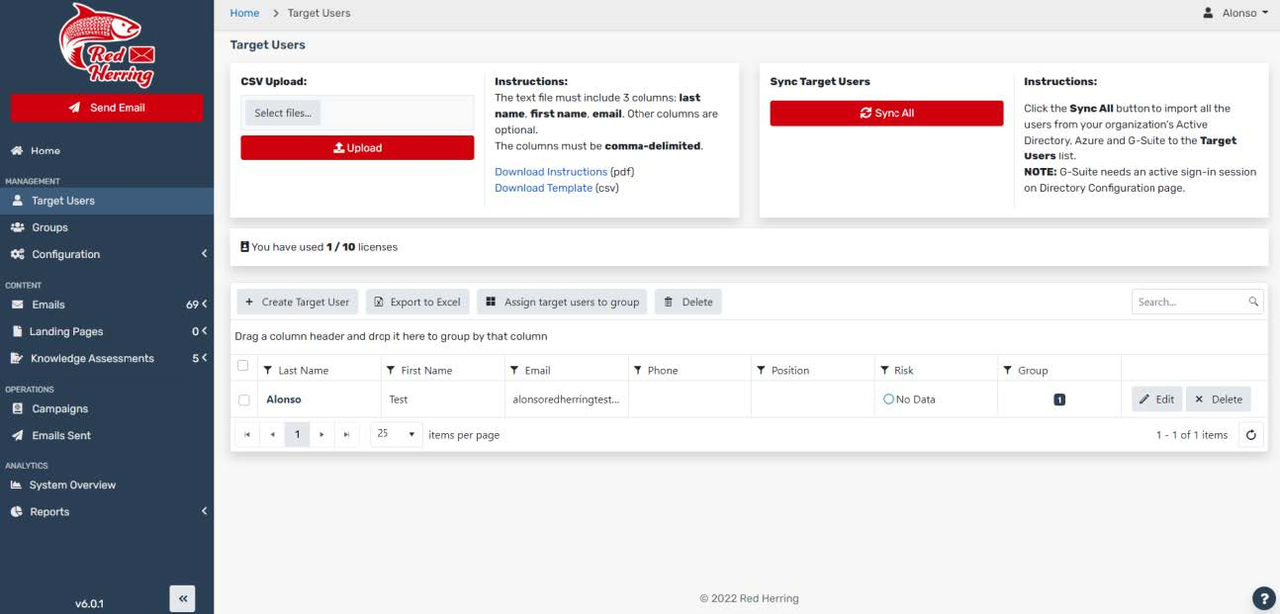
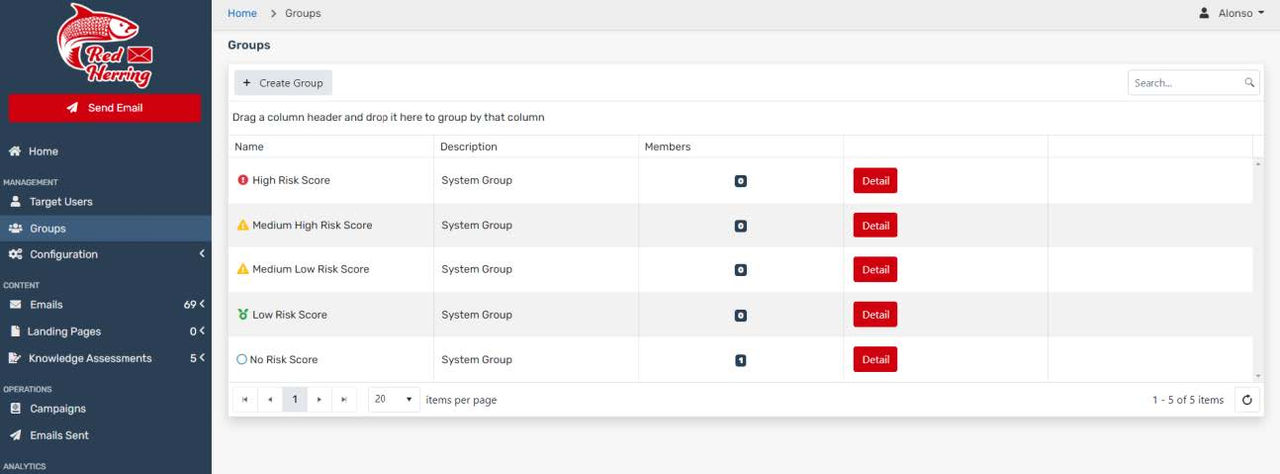
Here you will have the option to import users using a CSV file or sync them with your G-Suite, or Azure directory. For our test, we just created a user. (Note: These users must be part of your domain/organization. If you are using a .edu domain, all users must have the same .edu email. Otherwise, RedHerring will not allow you to add these users as this is not meant to be malicious, but for test purposes only.) After the target users are imported or created, you can put the users into different groups. By default, they are part of the no risk group as they have not clicked on any links. The admin can then create new groups in case you are testing teachers or other departments within your district. You have the ability to move users into their respective group.
After a user is sent an email and the user clicks it, then they are automatically moved to the different risk scores and your risk score also populates.
After all these steps are completed, we can go ahead and assign the template admin to start creating emails and landing pages or the Campaign admins can start running the campaigns.
Campaign Admins
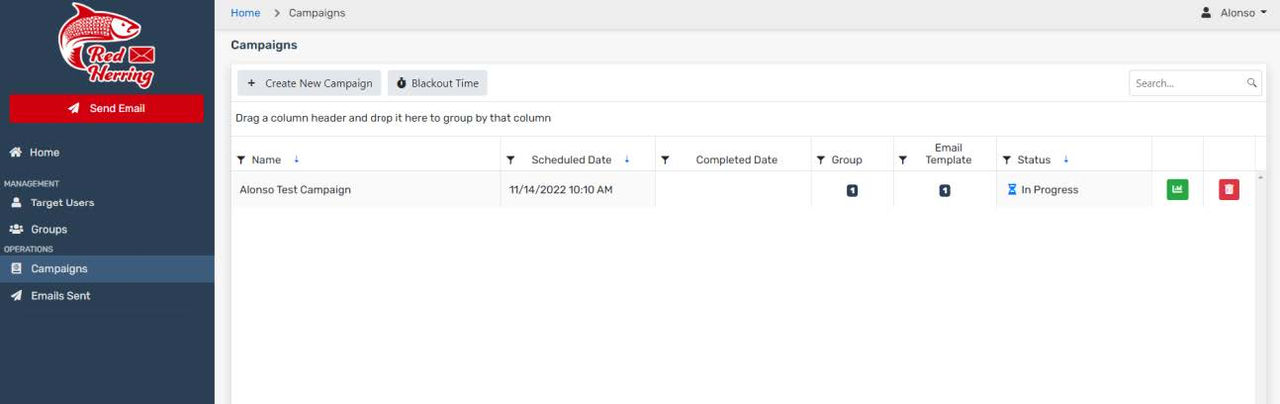
As a Campaign admin, you can only see a few options. Looking at target users, groups, and then starting a campaign and sending emails. If you are an admin, you will be able to see emails and edit them as needed. To set up a campaign we will just click on Create New Campaign on the screen below. Note: Admins can see this page as well.
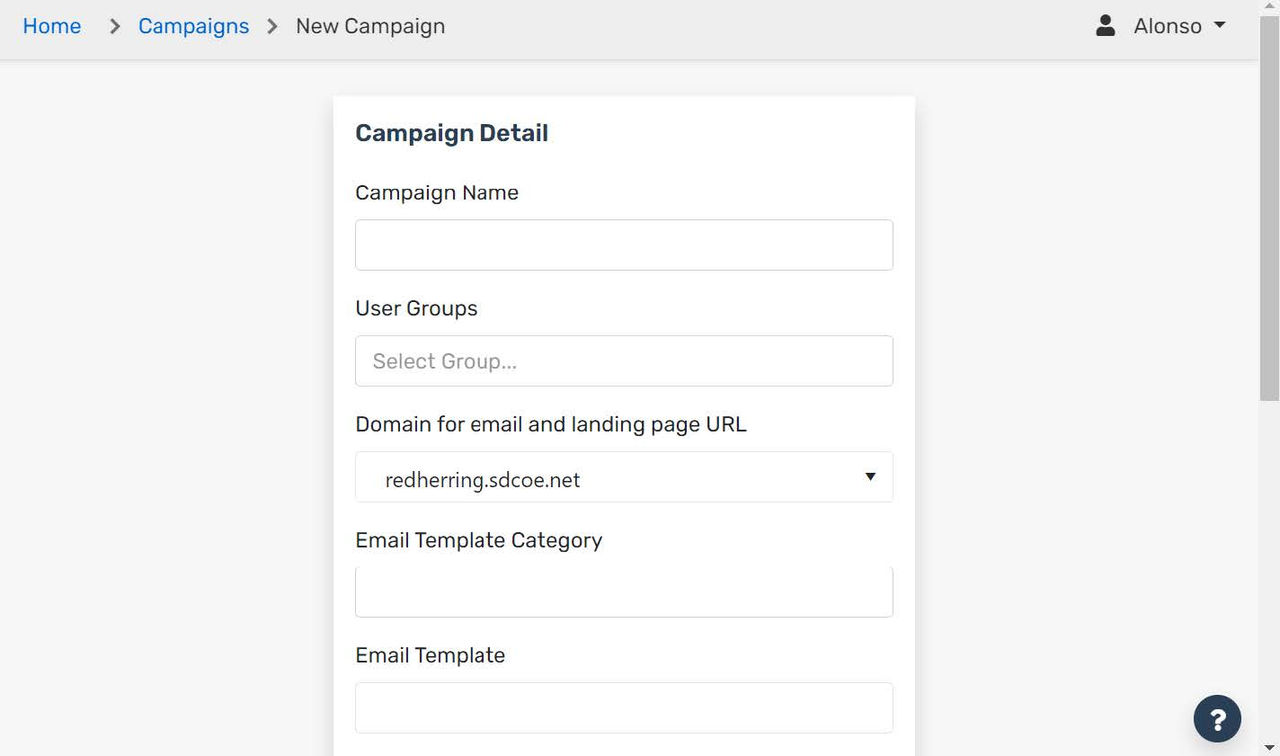
When creating a new campaign, you will see a few settings you have to edit. As shown in the screenshot below, Campaign Name, User Groups to name a few of the settings of a campaign. The domain where the emails and landing pages will show as well as the email template itself. Whether the admin created one or the template admins created something it will be an option here.
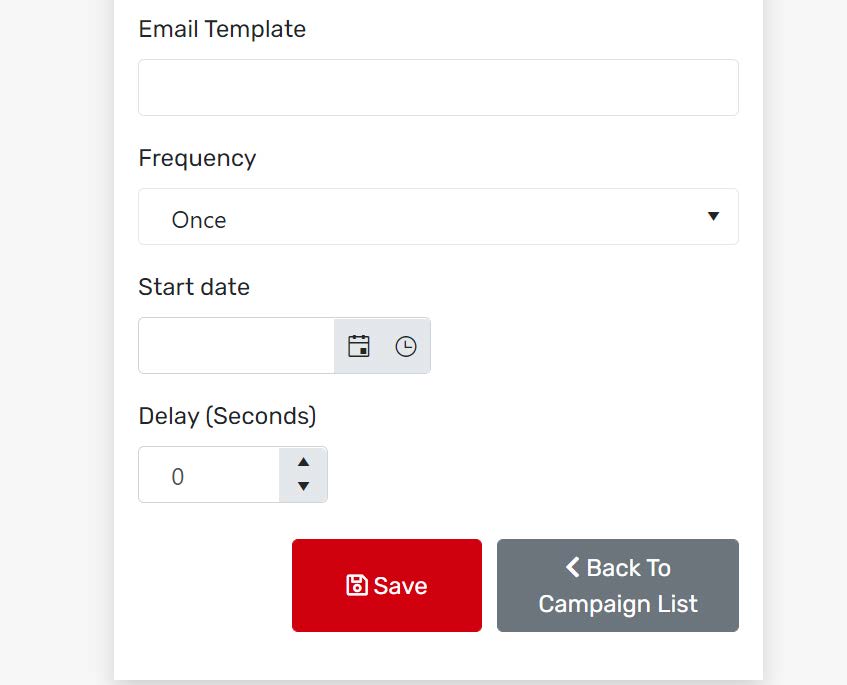
Under the Email Template option, we see a frequency option. This sets how many times the campaign will run and how many emails will be sent out. Frequency of emails can be one time, weekly, monthly , or annual emails. You are able to set this in this feature. Under that option is the start date. When you pick a date, you will also need to pick a time and picking a time for the campaign to start. The final option at the bottom of the prompt is the delay; this is how long the program will wait between emails before sending them out to each person in the group chosen. Finally, we see Save at the bottom of the form in the picture below. This is to save the campaign and get it started. Once the time comes, it automatically will send out the emails and whoever is the campaign admin or the creator of the campaign will receive an email that the campaign has started successfully. However long you had it for, you will receive an email once it has been completed as well. Once the campaign is completed you will be able to view reports when someone clicks on the emails.
Template Admins
Template Admins have similar limitations to Campaign Admins where you are only allowed to create emails and landing pages and test them by sending them to yourself, but you cannot send out emails. Your splash page will look even more limited.
When creating emails, you can either look at the templates RedHerring offers or create your own phishing email and makes it look as real or as easy to spot as possible. The emails are written in HTML format if needed to give more design choice. Landing pages are the same thing, when an email is clicked and if you have a link in the email, it will redirect the user to a landing page where you can give them a little bit of information or have the users watching a video. Users do not need to tell you they clicked on the link as this is automatically reported. Another thing the template admin can do is also create knowledge assessments. A small quiz after a video or information that will allow users to reiterate what they just learned. These quizzes are a good way for users to show they understand the dangers of phishing a bit more.
Final Thoughts?
RedHerring is a great product to use to test staff and make them more aware of Phishing attempts. Successful phishing attacks are the biggest problem to Multi-Factor Authentication. It is the easiest way to bypass the Multi-Factor Authentication on most accounts who fall for a phishing attempt. If you are the overall admin of the organization, you will be able to view reports and statistical data for users who clicked on the emails and which users have the highest risk of clicking a phishing email if it were real. That way, as an organization, we can focus on training all our users accordingly. There was also a video made to show the process of all these things as well as creating your own email and landing pages. If you have any questions, feel free to email us or go to our website for more details and information.


